
Featured Social Media Software:
Want to turn your Facebook Page into an online store? You’re not alone. With millions of users browsing Facebook every day, setting up a Facebook Shop is one of the easiest ways to reach more customers without building a full website.
In this step-by-step guide, you’ll learn how to create a Facebook Shop from scratch—even if you have no technical skills. Whether you’re selling handmade items, fashion, or digital products, this guide will help you start selling directly through your Facebook Page.
Let’s walk you through everything you need to set up your Facebook Shop and start making sales.
What is Facebook Shop?
Facebook Shop is a free feature that lets you create an online store right on your Facebook Page or Instagram profile. It allows you to display your products in a mobile-friendly format, making it easier for customers to browse, share, and buy—all without leaving the app.
With Facebook Shop, you can:
- Add product images, descriptions, and prices
- Customize your shop to match your brand
- Organize items into collections (like categories)
- Chat with customers directly through Messenger, Instagram DM, or WhatsApp
- Link to your website for checkout or let customers buy directly (in some countries)
Whether you run a small business or are just getting started, Facebook Shop gives you a powerful, free tool to showcase your products and reach billions of potential buyers on social media.
What are the Requirements for Opening a Shop on Facebook?
Before setting up your Facebook Shop, there are a few important requirements to meet. These ensure your business is legitimate, safe for customers, and eligible to sell through Meta’s platform.
A Facebook Business Page
You need an active and published Facebook Business Page. This Page will serve as the foundation of your shop and must be connected during setup.
A Meta Business Manager Account
Meta Business Manager lets you manage your Page, team permissions, product catalogs, and shop settings in one place. It’s essential for setting up and maintaining your shop.
A Product Catalog
You must create a product catalog using Meta Commerce Manager. This includes uploading product images, prices, descriptions, and availability to showcase your inventory.
Compliance with Facebook’s Commerce Policies
All your products must follow Facebook’s Commerce Policies. You cannot sell restricted or banned items like drugs, weapons, or counterfeit goods.
A Valid Business Location
Facebook Shops are only available in select countries. Your Facebook Page must be registered in a supported location to enable the Shop feature.
Bank Account and Tax Information (For Checkout Use)
If you plan to use Facebook or Instagram’s in-app checkout feature (available in the U.S. and select regions), you’ll need to provide accurate bank account and tax details to process payments and payouts.
How to Create a Facebook Shop: Step-by-Step Guide
Setting up a Facebook Shop is easy when you follow the right steps. Here’s exactly how to do it, even if you’re just starting out:
Step 1: Make Sure You Have Access to a Facebook Business Page
To create a Facebook Shop, you must have admin access to an active Facebook Business Page. If you don’t already have a Page, you can create one by visiting facebook.com/pages/create.
Start by choosing a Page name and business category that best fits your brand. Then, add your logo, contact details, and other business information. Once everything is filled out, click “Create Page” to complete the setup.
Before moving to the next step, ensure your Page is published and fully optimized with up-to-date information.
Step 2: Go to Meta Commerce Manager to Start Your Shop
Visit Meta Commerce Manager and click “Get Started”.
Then choose “Create a Shop.” Facebook will walk you through the setup process.
Step 3: Choose a Checkout Method
You’ll be asked how you want customers to complete purchases:
- Checkout on Facebook or Instagram (Available in select countries like the U.S.)
- Checkout on your website (If you already have an online store)
- Checkout via messages (Talk directly with customers on Messenger, WhatsApp, or Instagram DM)
Choose the one that best fits your business.
Step 4: Link Your Facebook Page
Select the Facebook Page where your shop will appear.
This connects your Shop to your brand and makes your products visible to your followers.
Step 5: Select or Create a Product Catalog
At this stage, you’ll need to connect a product catalog to your Facebook Shop. If you already have a catalog set up in Meta Commerce Manager, you can simply select it. If not, click on “Create Catalog” to start from scratch.
When adding products, you’ll be asked to enter important details like the product name, price, description, images, and inventory or availability status. Make sure all information is clear and accurate to give your customers the best experience.
You can also organize your products into collections, such as “New Arrivals,” “Best Sellers,” or seasonal categories. This makes browsing easier and improves the overall shopping experience for your audience.
Step 6: Enter Business Info & Delivery Details
As part of your Facebook Shop setup, you’ll need to provide key business information and delivery options. The exact details required may vary depending on the checkout method you selected earlier.
You’ll be asked to enter your business name, define your shipping options, outline your return policy, and provide a customer support email or phone number. These details help customers trust your shop and understand what to expect.
If you’re using Checkout on Facebook or Instagram, you’ll also need to submit your bank account details for payouts and your tax information to comply with local laws and Meta’s commerce requirements.
Step 7: Review & Finish Setup
Double-check all your details and click “Finish Setup.”
Your shop will go into review, which usually takes less than 24 hours. Once approved, your Shop will be live on your Facebook Page under the “Shop” tab.
Tip: Once your shop is live, you can start tagging products in posts, Stories, and even ads—making it easier for followers to browse and buy right away.
How to Manage Your Facebook Shop with an eCommerce Platform
If you already operate an online store using platforms like Shopify, BigCommerce, or WooCommerce, you don’t need to upload your products manually to Facebook. Instead, you can connect your store directly to Facebook, allowing you to manage inventory, pricing, and product updates in one place.
Connecting Shopify to Facebook
If you’re using Shopify, integration is quick and easy. Start by going to your Shopify dashboard and clicking on “Sales Channels”, then select Facebook & Instagram. Follow the guided steps to link your Facebook account and Meta Business Manager.
Once connected, choose which products you want to sync to your Facebook Shop. Shopify will automatically update your product info, inventory, and pricing on Facebook, saving you time and keeping your catalog accurate.
Syncing a Partner Platform During Shop Setup
If you’re setting up your Facebook Shop for the first time in Meta Commerce Manager, Facebook gives you the option to connect an eCommerce partner during the process.
Popular supported platforms include BigCommerce, WooCommerce, Wix, Ecwid, and Squarespace. If you choose one of these, you’ll be redirected to log in and authorize the connection. From there, your catalog will sync automatically with Facebook.
Importing Products to Commerce Manager After Setup
If you already have your eCommerce store running but didn’t connect it during shop setup, you can still import your products manually later.
Simply go to Meta Commerce Manager, select your Shop, and navigate to Catalog > Items. Click “Add Items”, then choose whether to upload products manually, import a CSV file, or connect a data feed.
This method gives you more control and flexibility, but it does require more manual input or file preparation.
How to Add Products to Your Facebook Shop
Once your Facebook Shop is set up, the next important step is adding your products. You can either do this manually—ideal for small inventories—or import items in bulk if you have a larger catalog. No matter the method, your products must comply with Meta’s Commerce Policies and include all the required details.
Step 1: Access Commerce Manager
To begin, go to Meta Commerce Manager and select the shop you want to manage.
Step 2: Open Your Catalog
From the left-hand menu, click on “Catalog” and then select “Items.” This is where all your current and future products will be stored.
Step 3: Click “Add Items”
You’ll see three options for uploading products:
-
Add manually – Best for small shops or just a few items
-
Use data feed – Upload a spreadsheet for bulk import
-
Connect a partner platform – Sync directly with platforms like Shopify or WooCommerce
For this guide, choose “Add manually.”
Step 4: Fill In Product Details
Now enter all the required information for each product. This includes the product name, a clear description, price, and availability status. Be sure to upload high-quality product images, preferably in square format for best display. You must also indicate the condition of the item—such as new, used, or refurbished.
Step 5: Organize with Collections (Optional)
To improve the shopping experience, you can group related products into collections, such as “New Arrivals,” “Best Sellers,” or “Seasonal Picks.” This helps customers browse more easily and improves shop navigation.
Step 6: Click “Finish”
Once you’ve reviewed the details, click “Finish” to submit your product. Facebook will then review the listing, and if everything meets the guidelines, the product will appear live in your shop shortly.
How to Edit Your Facebook Shop
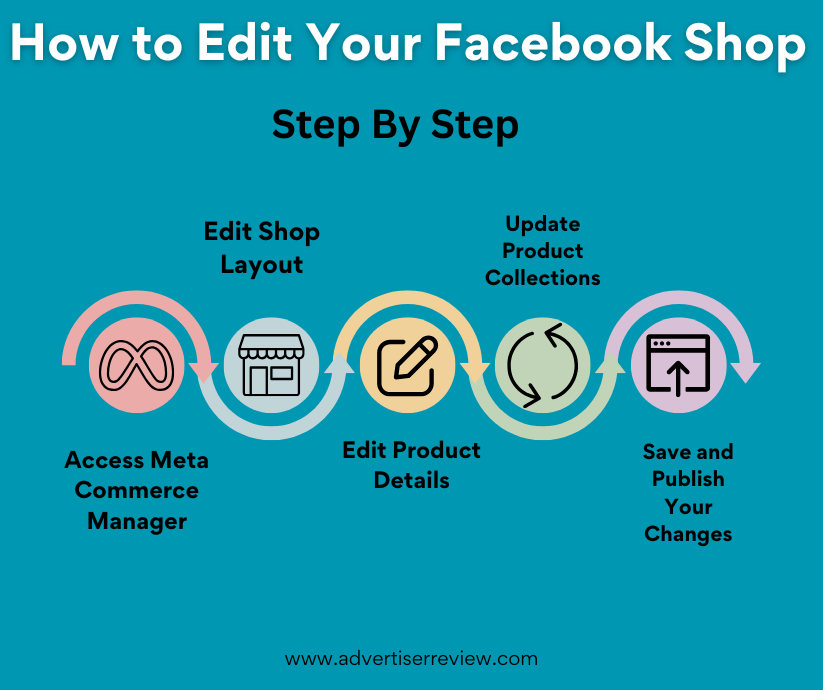
Once your Facebook Shop is live, you may want to make updates—whether it’s refreshing product details, adjusting your layout, or managing collections. Thankfully, Facebook allows you to easily edit and manage your shop at any time through Meta Commerce Manager.
Access Meta Commerce Manager
To begin editing, head to Meta Commerce Manager and select the Shop you want to update. From the dashboard, click on the “Shop” tab in the left-hand menu to access your storefront settings.
Edit Shop Layout
Click the “Edit Shop” button in the top-right corner of your dashboard. Here, you can rearrange your product collections, change featured items, or update the overall layout of your shop.
Use the preview tool to see how your changes will appear on both desktop and mobile, ensuring your storefront looks great on every device.
Edit Product Details
To update individual products, navigate to Catalog > Items. Select the product you want to edit, then make changes to the price, description, photos, or inventory levels as needed. This is especially helpful if you’re running sales or updating seasonal stock.
Update Product Collections
Collections (also known as Sets) can be edited under Catalog > Sets. From here, you can add or remove products, rename the collection, or change its display order to prioritize bestsellers or new arrivals.
Save and Publish Your Changes
After making your updates, click “Save” to publish the changes. Most edits go live instantly, but some may require Facebook’s review, especially if you add new items or update sensitive content.
Tips to Boost Sales from Your Facebook Shop
Setting up your Facebook Shop is just the beginning. To grow your business, you need to attract more customers, encourage purchases, and build loyalty. Here are the most effective ways to turn visitors into buyers:
Optimize Product Images and Descriptions
To improve sales, start by using high-quality product images. Use a clean background and show multiple angles to give shoppers a clear view. Write compelling descriptions that highlight the benefits of each item and include important details like size, color, material, and care instructions. This helps build trust and improves conversions.
Use Collections to Organize Your Shop
Create themed collections such as “Best Sellers,” “New Arrivals,” or “Under $50.” Organizing your products into easy-to-browse groups helps customers find what they’re looking for quickly, improving their shopping experience and increasing the chances of a purchase.
Promote Products with Facebook Ads
Running Facebook Ads is a smart way to reach more customers. Use Ads Manager to create targeted campaigns, especially retargeting people who visited your shop but didn’t buy. You can also promote specific products or entire collections for greater visibility and traffic.
Tag Products in Your Posts and Reels
Make your social content shoppable by tagging products in Facebook posts, Instagram photos, Stories, and Reels. This allows users to tap directly on a product and go to your Shop, making it easier for them to buy right away.
Engage with Customers
Respond quickly to customer questions and comments on your posts. Use Messenger or WhatsApp for live support and build trust by being helpful and friendly. Engaging with your audience helps convert interest into sales and builds a stronger brand reputation.
Offer Discounts or Free Shipping
Time-limited discounts and special deals can motivate shoppers to act fast. You can also encourage larger orders by offering free shipping on purchases over a certain amount. Promote these offers using Stories or pin them to the top of your page.
Monitor Shop Insights
Use Meta Commerce Manager’s analytics to keep track of what’s working. Identify your top-performing products, busiest times, and most active customers. These insights help you refine your strategy and focus on what drives real results.
Final Words
Setting up a Facebook Shop is one of the smartest ways to reach new customers online—right where they already spend their time. Whether you’re just starting or already have an online store, Facebook Shops make it easy to showcase your products, connect with shoppers, and drive more sales.
By following this guide, you now know how to create a Facebook Shop, manage your inventory, connect it with an eCommerce platform, and boost your results. With the right setup and strategy, your shop can become a powerful part of your digital marketing funnel.
Now it’s time to take action. Start building, keep testing, and don’t forget to engage with your audience regularly. Every post, tag, and product listing brings you one step closer to real growth.
Frequently Asked Questions (FAQs)
How do I create a Facebook Shop?
To create a Facebook Shop, go to Meta Commerce Manager, connect your Facebook Page, choose a product catalog, and set up your checkout method. Follow the step-by-step setup process to finish.
Do I need a business to open a Facebook Shop?
Yes. You need a Facebook Business Page and a product inventory to start a shop. Personal profiles can’t be used for selling products.
Can I sell digital products on Facebook Shop?
No. Facebook Shops only allow physical products. Selling digital goods like eBooks or downloads is not supported.
Is Facebook Shop free to use?
Yes, setting up a Facebook Shop is free. However, Facebook may charge a small transaction fee per sale, depending on your region and checkout method.
Can I manage my shop from a mobile phone?
Yes. You can use the Meta Business Suite or Commerce Manager apps on your mobile device to manage your shop, products, and messages.